Battling with clutter? It’s an on-going struggle for many of us. In most cases, you’ve exhausted your options. You’ve sorted and reorganized. You’ve purchased and experimented with shelving units and storage tricks (check out some of our own: “8 Essential Garage Storage Tips You Must Try” and “Don’t Let Your Shed Become A Black Hole This Summer”). You’ve had one garage sale too many, and now you’re keeping what’s left of your belongings but need a way to store it all. One of our recent customers came to us with exactly this problem. Ben said, “My garage was getting cluttered. I wanted to get my lawn tools out of the garage to make room for walking in there!” Frustrated with his situation, he decided to build a shed.
When the need arises to increase backyard storage, for most of us installing a shed is the first option that comes to mind. The same was true for Ben and Mary, who realized they needed to build a shed primarily for this reason, but also thought it would be nice to house a secondary workshop. We tagged along with the couple as they lived their shed install process from start to finish.
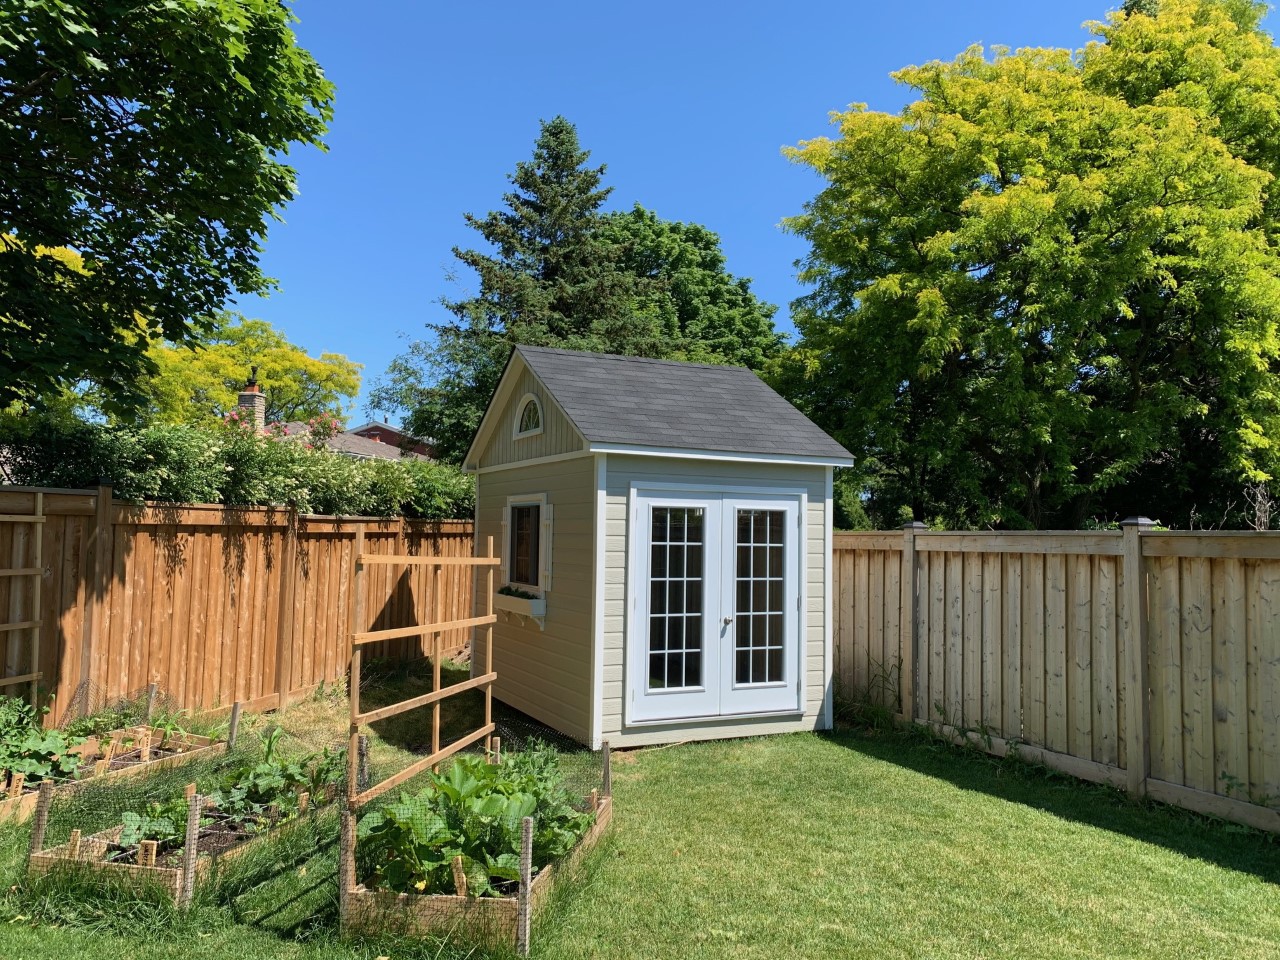
But the couple were seeking a shed that would not only store their belongings, they wanted a quality building that would last and increase the value of their home as well. After searching at the local big box home improvement stores and various online manufacturers, they settled on Summerwood’s compact (5’ x 7’) Palmerston shed. Why? “Most pre-fab sheds are crummy,” he observed. Then he volunteered, “I did a ton of research on this. You can’t touch this (Summerwood Palmerston) shed compared to what’s out there.”
A Significant Project for a Self-Confessed Novice
Ben admitted that he was somewhat intimidated with the size of the construction job. “It was a big project to take on,” he said. “It was just me and my son.” He didn’t have a lot of experience building around the home. “You could say that I’m a novice … years ago I semi-renovated a house I bought, but I haven’t done much in the last 15 years.”
The Palmerston shed they designed for their project was delivered to them in a pre-assembled kit. As the name suggests, this means the builders at Summerwood have done much of the work in advance as small sections of the building have already been put together. Once delivered on site, the remaining larger components are assembled by the customer, which was perfect for Ben. These kits are popular for those who are looking to do some, but not all of the DIY. As much of the work such as sourcing material, planning construction, measuring and cutting is already complete, once the package arrives it’s as simple as following the included instructions to put the big pieces together. Don’t worry, if you hit a glitch along the way, our installers are just a phone call away. Pre-cut kits are the best of both worlds: save some money and put in the elbow grease, but you’re not starting from scratch.
A Firm Foundation for the Framed Flooring
Initially, Ben and his son were apprehensive about the foundation. After all, the base would support all else. Ben added, “I thought that was going to be the hardest but it was the easiest part.”
They had a flat area available to put up their shed, which didn’t require much leveling. Following advice from our design experts, they purchased 2″ thick concrete patio stones from their local home improvement center, stacking them by degrees. “I stacked them till I got a fairly level area.” It’s not always necessary to create an elaborate concrete pad. If your building is small, and placed in a generally flat spot, patio stones are all you need. Check out our helpful guide for more information about foundations.
The next stage of construction was flooring. At this point, Ben was glad for the pre-assembled kit. “That (the flooring) was not too hard. Summerwood’s box frame simplifies the assembling of the floor.” Following that, their main task was fitting the tongue and groove plywood sheets together and nail them to the top of the frame. Easy enough.
Piecing it All Together
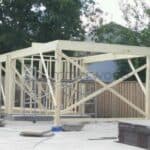
What part was the hardest? According to Ben and his son, the roof made them the most nervous. Ben wasn’t confident about the construction of the roof and was glad he spent extra time to get it right. His pre-assembled kit came with 5 trusses, already constructed. With time and care the process went smoothly but in hindsight, Ben advises others to rent or borrow several decent ladders for this stage of construction.
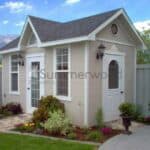
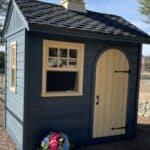
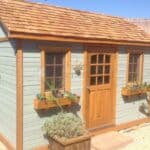
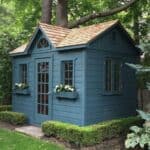
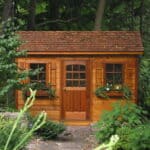
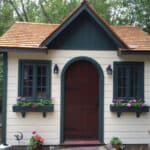
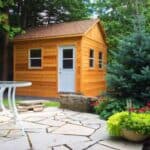
As for siding, Ben and Mary had ordered the optional Canexel siding for their Palmerston shed instead of opting for cedar. As our maintenance free option, it requires no effort beyond the initial installation. Available in over 20 shades, it comes colored in a shade almost identical to their home, which stylistically was important to Mary. “It virtually matches the siding of my house.” To complete the effect, Ben painted the doors on the shed to match those on their house. “We think it’ll increase the value of the home because they look like they were built together.” To read more about the best siding options, check out “The Best Materials for Building Your Own Shed”.
Sure, we all want an immediate solution to our storage problems, but taking the extra time to select an option that’s designed with you in mind will only make it more useful in the long run. When you’re tired of playing the reorganizing game, head back to our homepage to learn more about our custom backyard structures. A high-quality shed will last for decades, and the right choice will increase the beauty of your yard, instead of looking like an eyesore! Sure, everyone’s first reason for constructing one is storage, but never far behind is that old favorite, property value!
When you’re ready to start dreaming of that perfect backyard building, drag and drop your options in our design center:

