If you have little experience, wood shed kits can seem tricky. It is therefore important to familiarize yourself with certain aspects of the process so you get the best results. So if you have shed plans for the near future but need some help starting out, take a look through this article for best shed kit building tips.
Shed Kits Canada – The Proper Foundation
Normally, a shed’s foundation does not have to rest on deep footings. A pair of trenches filled with gravel and topped with treated 6x6s is acceptable in areas with well-drained soil. After you level and square the 6x6s and you’re ready to build and attach the joist system.
If the ground of your shed site has a slope, pouring the concrete is a bigger job because you have to build strong forms and pour extra concrete on the downhill side. An easier method is to build your shed floor like a deck, with footings, posts and a wood frame covered by plywood. If you don’t like the opening under the shed, build a skirt to cover the space between the shed floor and the ground.
Patio stone foundation
If the ground is stable and has sufficient drainage, you can set patio stones directly on firm compacted soil. If not, consider laying down sand and then gravel or crushed rock. Excavate the site making it about 12” wider and longer than the floor footprint. Excavate down approximately 4-6 inches deep. Lay 1-2 inches of sand first and then fill with 3-4 inches of gravel or rock for good drainage and support. Most sheds and playhouses include floors with support runners. Support each runner with 4-5 patio stones (less for smaller sheds). Patio stones can be anything from a mid size brick to a round our square 12” long by 1 1/2” thick stone. Place stones directly under the floor runners, check for level and adjust height as necessary. Having a solid and level foundation is the most critical piece of work you can do to make the project go smoothly. Most of this work can be done prior to your shed arriving!
Using concrete foundation
For a shed floor that’s strong, long-lasting and low to the ground, you’re best bet is to use concrete (unless you have a slope as mentioned above). The price is comparable to a wood platform if you pour the slab yourself.
Before you pour your concrete slab, you should mark your base area (using poles and caution tape)for where your shed will go. A good tip is to water your soil before digging to make it easier for yourself.
Typically a concrete slab 3-4 inches thick laid over a sub-base of 4 inches of gravel or crushed rock is sufficient but may vary depending on your geographic location.
To ensure that the concrete slab will last long with minimum amounts of cracking and movement you need to build it on well drained soil. If you happen to have sandy soil, you’re in luck because you can just scrape off the sod and topsoil and add gravel fill if needed. If you have clay or loam soil, you should remove enough to allow a 6- to 8-in. layer of compacted gravel under the new concrete.
Roof Trusses
If you have shed plans, you need to start thinking about the roof. A truss is a framework that supports a roof or floor assembled in a factory with pre-engineered joints and structures. Prefabricated roof and floor trusses can not only span a longer distance than dimensional lumber, they also allow for built-in openings to eliminate errors and decrease framing time. If you’re looking for a quick cost-effective job, trusses are the way to go. And you’ll always want to ensure that your roof is made from good quality materials.
Building a roof with trusses is much easier than framing a roof one rafter at a time. As a general rule when learning how to build a shed roof, you’ll need one truss every 2-ft. Connect the framing for site-built trusses with plywood gussets glued and screwed to the joints.
Side note: You can also add rolled ridge venting to your roof. This allows the heat from inside your shed to vent out and keep your shed cool.

https://www.carpentry-pro-framer.com/roof-trusses.html
Install Siding, Then Raise Shed Walls
It’s not always possible, but if you’re using 4 x 8-ft. sheet siding and have enough helpers around to lift the wall when you’re done, you can save time by siding the walls before you raise them. Make sure to straighten the wall plates and square the wall by measuring diagonally before you nail on the siding. This is easier to do on a wood shed floor because you can tack the plates to the floor to hold the wall straight and square while you install the siding.
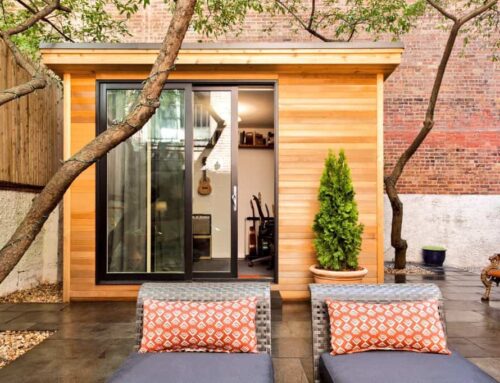
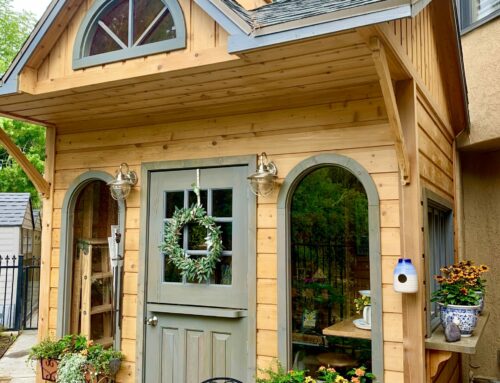
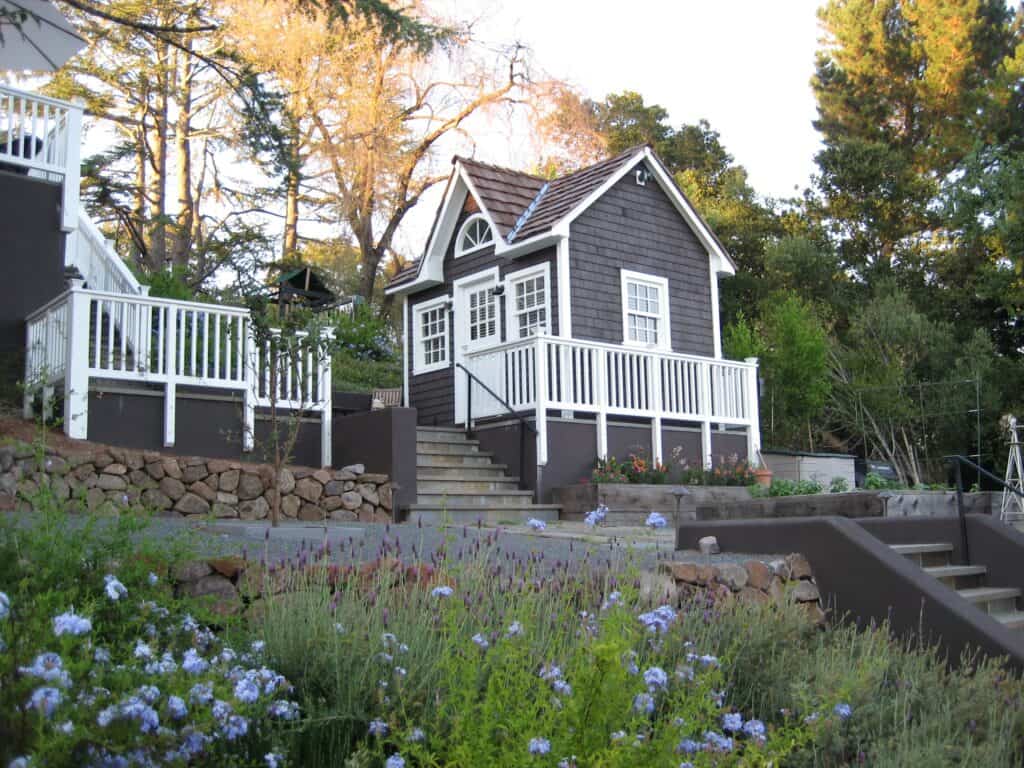
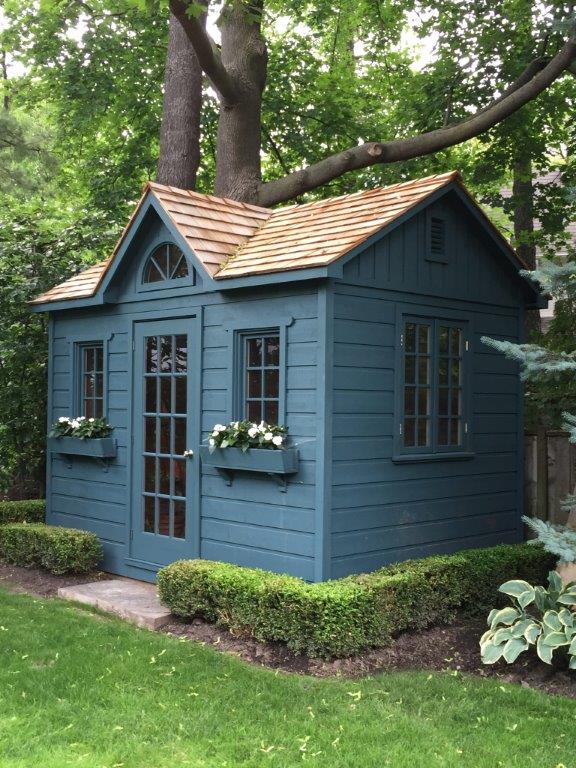
For a beautiful assortment of easy to build prefab sheds, see the Summerwood Collection for your shed plans.
Share This Story!